The Ultimate Easy Strawberry Tart: Foolproof & Delicious
Imagine a dessert that looks like it belongs in a high-end bakery display, yet is so wonderfully simple to create in your own kitchen. That, my friends, is the magic of the ultimate easy strawberry tart recipe we're about to dive into. Forget complicated techniques, endless chilling, and the fear of a soggy crust. This foolproof guide ensures every slice is a triumph of flavor and texture, guaranteed to impress at any gathering or simply make a lazy afternoon feel exquisitely special.
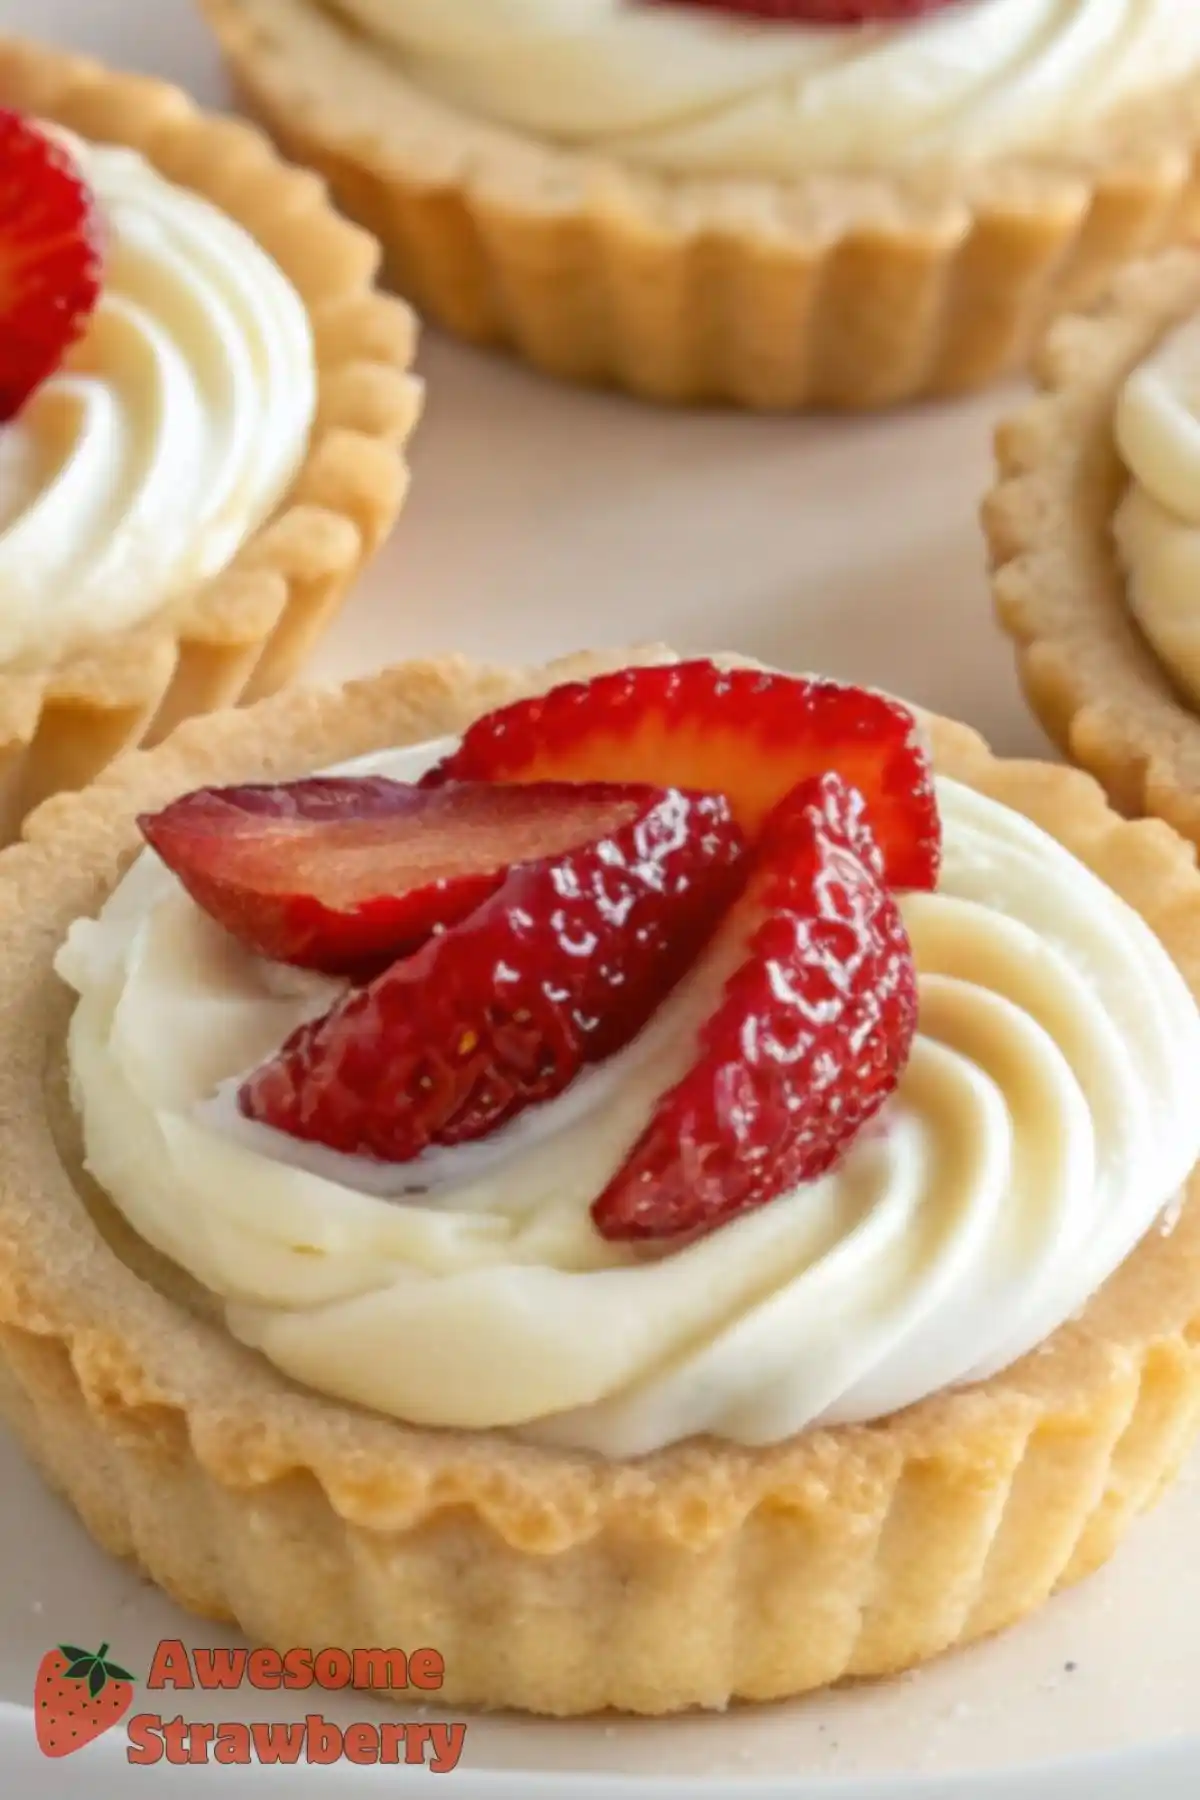
A classic strawberry tart, with its vibrant red berries nestled atop a creamy filling and buttery crust, is an undeniable symbol of springtime and summer indulgence. While many traditional recipes might intimidate with their multi-step processes, our version strips away the complexity without sacrificing an ounce of elegance or taste. We're talking about a dessert that embodies the "warm hug" feeling – simple, comforting, and oh-so-rewarding. Get ready to make your new go-to easy strawberry tart recipe that will have everyone asking for seconds!
Why This is Your Go-To Easy Strawberry Tart Recipe
What sets this particular strawberry tart recipe apart from the rest? It’s designed with simplicity and deliciousness as its core pillars. We’ve meticulously crafted each element to be accessible for bakers of all skill levels, ensuring a delightful experience from start to finish. Here’s why it’s destined to become a staple in your dessert repertoire:
- The Foolproof Press-In Crust: Say goodbye to tricky rolling pins and torn dough. Our buttery crust is incredibly forgiving. It's a simple combination of flour, sugar, and cold butter that you literally press into your tart pan. This method not only saves time but also guarantees an evenly distributed, tender, cookie-like base that holds its shape beautifully and provides the perfect counterpoint to the creamy filling and fresh berries.
- Luscious, No-Bake Creamy Filling: The heart of this tart is its light, airy, and utterly delicious filling. Unlike traditional pastry cream that requires tempering eggs and constant whisking over heat, our version comes together with minimal effort. It’s a delightful blend that achieves a rich, velvety texture without any baking whatsoever, making assembly a breeze and keeping your kitchen cooler.
- Jewel-Like Fresh Strawberries: The star of the show, fresh strawberries, are celebrated in their natural glory. This recipe truly highlights their vibrant sweetness and slight tang, showcasing them in a stunning, artful display. No cooking or complex preparations needed for the fruit – just fresh, ripe perfection.
- Effortless Glaze for Shine and Flavor: A simple, shimmering glaze not only enhances the visual appeal, making your tart look professionally finished, but also locks in the freshness of the strawberries and adds a subtle layer of sweetness. It's the final touch that elevates this simple dessert into something truly extraordinary.
This isn't just another dessert; it's an invitation to create something truly special without the stress. Whether you're hosting a sunny brunch, a backyard barbecue, or simply treating the family, this homemade strawberry tart makes everyone feel cherished.
Mastering the Foolproof Press-In Crust
The foundation of any great tart is its crust, and ours is designed for absolute success. The beauty of a press-in crust lies in its forgiving nature and minimal fuss. Here’s how to achieve that perfect golden, buttery base:
- Ingredients Matter: Start with cold unsalted butter, all-purpose flour, granulated sugar, and a pinch of salt. The cold butter is crucial for creating a tender, flaky texture as it prevents the butter from melting too quickly and allows it to create pockets of steam during baking.
- Combine with Ease: While some traditional doughs benefit from a food processor to evenly distribute butter, for a press-in crust, you can achieve excellent results with a pastry blender, a fork, or even your fingertips. Cut the cold butter into small cubes and work it into the dry ingredients until the mixture resembles coarse crumbs. This stage is key; avoid overworking the dough, which can lead to a tough crust.
- Press and Form: Transfer the crumbly mixture directly into a 9-inch tart pan with a removable bottom. Using the bottom of a flat-bottomed glass, your knuckles, or the palm of your hand, press the mixture evenly across the bottom and up the sides of the pan. Aim for an even thickness throughout. The goal is a uniform layer that will bake consistently.
- Chill for Stability: Once pressed, refrigerate the crust for at least 30 minutes. This step is often overlooked but vital. Chilling allows the butter to firm up, preventing the crust from shrinking excessively during baking and helping it maintain its crispness.
- Bake to Golden Perfection: Blind bake the crust in a preheated oven until it's beautifully golden brown. This preliminary baking ensures the crust is fully cooked and crisp before the moist filling is added, preventing any dreaded sogginess. Once baked, let it cool completely on a wire rack before filling.
This simple method ensures you get a robust, flavorful crust every single time, setting the stage for the creamy filling and fresh berries.
The Luscious, No-Bake Creamy Filling
Gone are the days of standing over a hot stove, whisking vigorously to prevent lumps. Our creamy filling is designed for maximum flavor with minimal effort, resulting in a velvety smooth texture that perfectly complements the buttery crust and fresh strawberries. This truly is the key to our easy strawberry tart recipe!
- Creamy Base: Start with softened cream cheese or mascarpone cheese. Both provide a rich, tangy base that holds up beautifully. Ensure it's at room temperature to prevent lumps.
- Sweetness and Flavor: Beat the cream cheese until smooth, then gradually add powdered sugar (also known as confectioners' sugar). Powdered sugar dissolves easily, ensuring a silky-smooth texture. A touch of vanilla extract is essential for that classic, comforting aroma and taste. For an optional tangy twist, a hint of fresh lemon zest can brighten the flavors beautifully.
- Lightness and Air: In a separate bowl, whip heavy cream until stiff peaks form. Gently fold this whipped cream into the cream cheese mixture. This step is crucial for creating that light, airy, and luscious consistency without the need for cooking or eggs. Fold carefully to maintain the volume of the whipped cream.
- Chill to Set: Pour the finished filling into the cooled tart crust and spread it evenly. Refrigerate the tart for at least 2-3 hours, or until the filling is fully set. This allows the flavors to meld and the filling to firm up, ensuring clean slices.
This filling is versatile too! If you're feeling adventurous, you could incorporate a tablespoon or two of very finely chopped fresh mint or basil for an unexpected herbal note, though the classic vanilla remains an absolute delight. You might also explore variations by making it a strawberry and rhubarb tart recipe by layering a thin cooked rhubarb compote beneath the cream cheese filling.
The Jewel-Like Strawberry Topping & Signature Glaze
The visual appeal of a strawberry tart is almost as important as its taste. Our method ensures your tart will look as good as it tastes, crowned with a vibrant array of fresh berries and a professional-looking sheen.
- Selecting Your Berries: Choose the freshest, ripest strawberries available. Look for bright red color, firm texture, and a sweet aroma. Hull them and, depending on their size, you can leave them whole, halve them, or slice them for a varied look.
- Artful Arrangement: This is where you can let your creativity shine! Arrange the strawberries on top of the chilled filling. You can start from the outer edge, placing halves cut-side down, or create concentric circles. Experiment with patterns – a simple, rustic pile is just as charming as an intricate design. The goal is to cover the filling completely, creating a beautiful red mosaic.
- The Simple Apricot Glaze: This secret ingredient adds both shine and a subtle layer of sweetness, protecting the berries and enhancing their natural color. In a small saucepan, combine about 1/4 cup of apricot jam (or red currant jelly for a slightly tarter, more vibrant option) with 1-2 tablespoons of water. Heat gently over low heat, stirring constantly, until the jam is melted and smooth. Strain the mixture through a fine-mesh sieve if you prefer a perfectly clear glaze.
- Brush and Chill: While the glaze is still warm, gently brush it over the arranged strawberries. Use a pastry brush to ensure even coverage. The warmth of the glaze will allow it to spread easily and create that irresistible sheen. Once glazed, return the tart to the refrigerator for at least 30 minutes to allow the glaze to set. This also firms up the tart further, making slicing easier.
For even more tips and an alternative take on glazing, don't forget to check out our Simple Strawberry Tart Recipe: Impress with Fresh Flavors for additional insights.
Tips for Strawberry Tart Perfection
- Seasonal Berries are Best: While strawberries are available year-round, they are truly at their peak in late spring and early summer. Using in-season berries will significantly enhance the flavor of your tart.
- Chill, Chill, Chill: Don't rush the chilling steps for both the crust and the assembled tart. Proper chilling ensures stability, clean slices, and optimal texture.
- Individual Tarts: For an elegant presentation, consider making individual strawberry tarts using smaller tart pans. This recipe scales perfectly, making everyone feel special.
- Storage: Store the finished tart in the refrigerator for up to 3 days. While best enjoyed fresh, it remains delightful for a couple of days.
- Creative Variations: Don't be afraid to experiment! A sprinkle of toasted almond slivers on the crust before baking, a few fresh mint leaves scattered over the berries, or even a swirl of lemon curd beneath the creamy filling can add new dimensions of flavor.
This truly is the ultimate simple strawberry tart recipe you've been searching for. It’s reliable, delicious, and won’t have you stuck in the kitchen for hours. Using simple pantry staples and fresh fruit, you can create something truly special.
There's nothing quite like the joy of sharing a homemade dessert, especially when it's as effortlessly beautiful and delicious as this easy strawberry tart. With a foolproof press-in crust, a light and creamy no-bake filling, and a stunning crown of fresh, glazed strawberries, you'll create a dessert that tastes like a dream and looks like a masterpiece. So, gather your ingredients, embrace the simplicity, and get ready to bake memories. Your ultimate easy strawberry tart awaits!
